Not sure where to start with mountain bike skills? Start with a balanced, centred stance, then add braking, cornering and line choice. Master those basics slowly and every trail gets easier, safer and more fun.
| Skill detail | Key fact |
|---|---|
| Foot position | Ball of the foot on or just ahead of the pedal axle, heels dropped |
| Arm position | Elbows bent and held up |
| Weight on climbs | Balanced between the front and rear wheels |
| Meeting uphill riders | Downhill riders yield to uphill users, unless signed otherwise |
| Meeting hikers | Bikers generally yield to hikers on shared trails |
These figures come from BikeRadar’s attack position guide and Mountain Biking BC’s trail etiquette page. Advice and local rules can change, so check the source before you rely on them.
Core mountain bike skills: why fundamentals beat fancy tricks
Most riders who feel stuck are not missing a big trick. They are missing a few fundamentals that sit underneath everything else: where your weight sits, how you slow down, where you look and how you pick a line.
Each of these skills feeds the others. A good stance makes braking calmer, calm braking makes cornering smoother, and smooth cornering makes steep ground less scary.
The sections below follow that order. Practise one idea at a time, ideally on a gentle, familiar trail or an empty parking lot, and only add speed or difficulty once the movement feels boring.
- Stance and balance come first, because everything else relies on them.
- Braking and speed control come next, because they keep you in charge.
- Cornering, climbing and descending then combine those basics.
- Technical features such as roots and rocks come last.
If you are still choosing equipment, our guide to mountain bike gear covers what helps a new rider and what can wait.
Vision, momentum and calm hands
Three habits quietly separate smooth riders from struggling ones. The first is vision: your bike tends to go where your eyes go, so looking at a rock usually sends you into it.
Look a few bike lengths ahead, then sweep your eyes further to the next section as you ride. Glance at the hazard to note it, then lift your gaze to the exit.
The second habit is momentum. A bike rolling at a steady pace is stable and rolls over small obstacles easily, while a bike crawling at walking pace tips over and gets stuck.
The third habit is calm, light hands. A white-knuckle grip passes every bump straight into your shoulders, tires your forearms and makes it harder to brake smoothly. Relax your fingers, rest two fingers on each lever and let your legs do the heavy work.
Check the bike before you blame yourself
Technique can only do so much on a bike that is set up badly. Brake levers that sit too far out, a saddle that is too high or tyres pumped rock hard all make skills feel harder than they are.
- Check that your brakes grab smoothly and evenly.
- Set your saddle so you can pedal comfortably and still drop behind it on descents.
- Run tyre pressures that let the tyre grip rather than bounce.
- Angle your levers so your wrists stay straight.
A local shop can help you with setup. Small adjustments often unlock progress faster than another month of practice.
Body position: the ready stance behind every skill
The ready position, often called the attack position, is the neutral stance you return to between obstacles. Your pedals are level, your knees and elbows are bent, and your weight is spread so that both wheels keep grip.
BikeRadar describes the foot position this way: with your cranks level, place the ball of your foot on the pedal axle or just in front of it, then drop your heels towards the ground. That low heel position lets your legs, not your hands, carry your weight.
The same guide says to bend your elbows and hold them up so you can use your arms to control and lean the bike. Dropping your heels also gets your weight low at the bottom bracket, which is stable and frees your arms for steering.
- Level the pedals, with the same foot never stuck forward on rough ground.
- Place the ball of each foot over or just ahead of the pedal axle.
- Drop your heels and soften your knees.
- Bend and lift your elbows, with a light grip on the bars.
- Look ahead, not at your front wheel.
A full walk-through of this stance, including common mistakes, is in our page on mountain bike body position.
Practise by rolling over a small bump while standing in the stance. Your legs and arms should act like suspension, moving the bike under you while your torso stays calm and steady.
Braking, speed control and cornering
Braking and speed control
Good braking is mostly about timing and smoothness. Slow down before a corner or technical section, then release the brakes and let the bike roll through with your weight centred.
Road riders are often taught to throw their weight back to slow down. On dirt that habit can unload the front wheel, which then loses grip and washes out.
Instead, stay balanced, keep your heels down and use your index fingers on the levers. Squeeze progressively, never grabbing a handful in a panic, and ease off slightly if a wheel starts to skid.
- Brake in a straight line whenever you can.
- Finish most of your slowing before you tip into a turn.
- Use both brakes; the front gives most of the stopping power when used smoothly.
- Look where you want to go, not at the obstacle you fear.
Our guide on how to brake on a mountain bike includes drills for building this feel safely.
Speed control also means choosing your pace. Riding a little slower than you think you can handle gives you time to read the trail, and that is how real confidence builds.
Common braking mistakes
Most braking problems come from a handful of habits that are easy to fix once you spot them. The biggest is braking too late, which forces you to grab the levers hard just as the trail needs your attention for steering.
- Dragging the brakes constantly, which overheats them and tires your hands.
- Locking the rear wheel and sliding when a smooth squeeze would do.
- Braking in the middle of a turn, which can push the front wheel wide.
- Staring at the obstacle, which tends to steer you straight into it.
A useful drill is to ride a flat, straight stretch and brake to a stop at a marked spot. Repeat at slightly higher speeds until you can stop in a straight line without skidding.
How to corner with confidence
Cornering is where bike handling turns into flow. The key idea is that you lean the bike beneath you rather than simply steering the bars around the turn.
Enter the corner already standing in your ready stance, with your speed set and your outside foot down. Turn your head and eyes early to the exit, and let your hips and shoulders follow.
Press your outside foot and your inside hand into the bike so the tyres bite. Keep your elbows out and your weight centred, and resist the urge to brake mid-turn.
- Slow down before the corner.
- Stand in the ready stance with level pedals.
- Look through the turn to the exit.
- Lean the bike while keeping your body fairly upright.
- Pedal or roll out smoothly once the bike straightens.
Berms, flat turns and loose gravel corners each behave differently. Our page on how to corner on a mountain bike explains how to read each type.
Switchbacks are tight corners on a slope, and they need extra patience. Our guide on how to ride switchbacks covers wide entries, slow speed and clean exits.
Climbing and descending
Climbing is a balance problem as much as a fitness one. BikeRadar notes that the aim is to balance your weight between the front and rear wheels, so you keep traction at the back and a bit of weight on the front wheel to stop it lifting or wandering.
Its tips for the climbing position are to lower your chest towards the bar, move your hips forward on the saddle, tuck your elbows in and look up. Getting your chest low keeps some weight on your front wheel so you can maintain your steering.
Pick an easy gear before the hill starts, because shifting under heavy load is hard on the drivetrain. Keep a steady cadence, and look ahead for the smoothest line rather than the one directly below your wheel.
Our page on how to climb hills on a mountain bike goes deeper on seated and standing techniques, and on loose or rooty ascents.
Descending reverses the problem. You move your hips back and down behind the saddle, keep your heels low and your arms bent, and let the bike move freely beneath you.
- Stay relaxed, with soft knees and elbows.
- Look far down the trail instead of at your front tyre.
- Control speed early, with light, steady braking.
- Stop and walk any section that feels beyond you.
For steeper terrain, read how to descend steep trails on a mountain bike before you drop in.
Reading the trail: roots, rocks and line choice
Technical features look scary, but they follow simple rules. Choose a line early, keep your eyes on the exit rather than the hazard, and roll through with light hands and heavy feet.
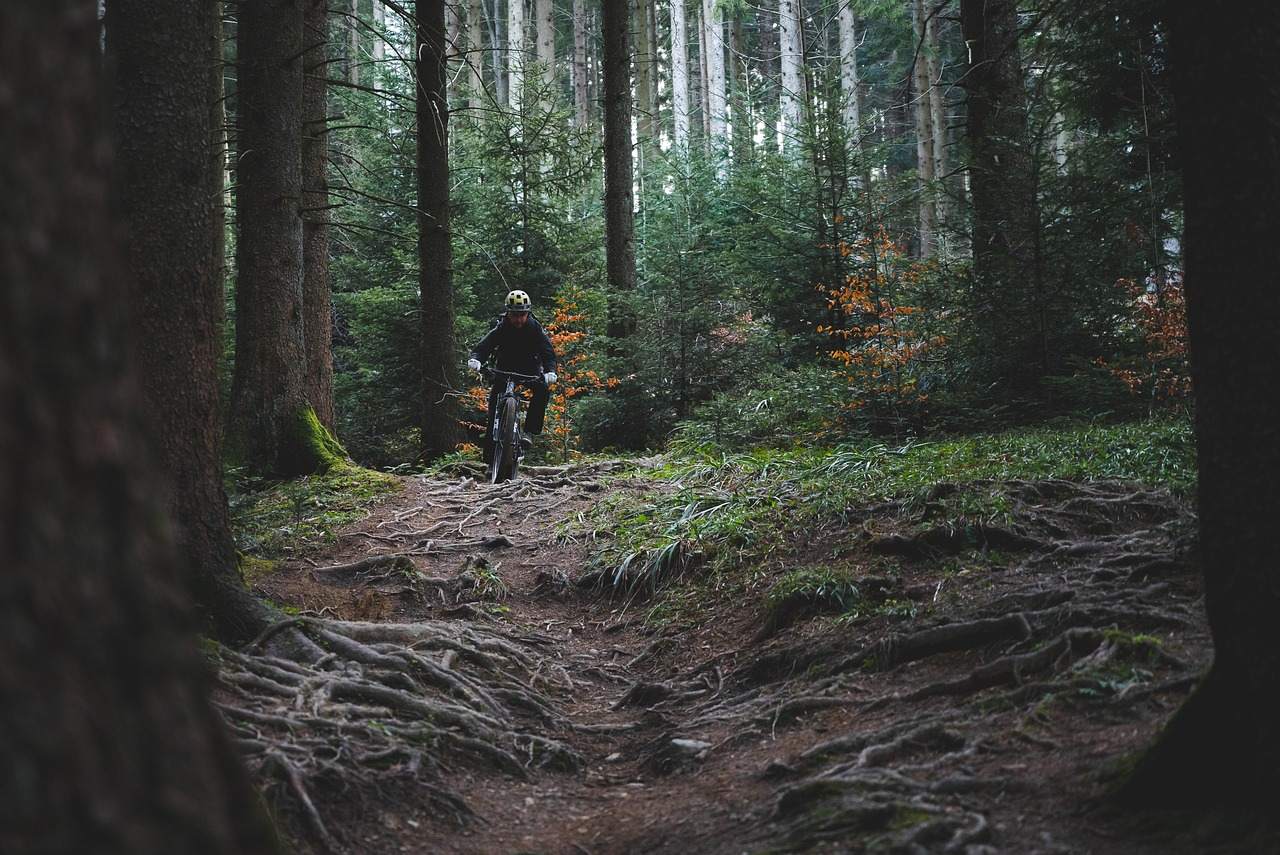
On roots, try to cross them as straight as you can, because a wet root crossed at a shallow angle can slide your wheel away. On rocks, keep your pedals level, stay loose and let the wheels follow the bike’s momentum.
Momentum is a friend on technical ground. Too slow and the wheels stop dead on a ledge, while too fast leaves no time to react, so aim for a controlled, rolling pace.
- Scout a feature on foot if you are unsure.
- Pick the smoothest path, not the most direct one.
- Keep pedalling or rolling rather than stopping mid-feature.
- Walk it without shame if conditions look wrong.
We break this down further in how to ride roots and rocks on a mountain bike, with practice ideas you can use on easy trails.
Wet weather changes everything. Roots and rocks become slick, and Mountain Biking BC notes that wet and muddy trails are more vulnerable to damage than dry ones, so consider a different ride when the ground is soft.
Fitness, trail manners and a plan for building skills
Fitness and trail manners
Fitness supports skill because tired riders make sloppy decisions. Strong legs, a steady core and decent endurance let you hold a good stance late in the ride, which is when most mistakes happen. Our page on mountain bike fitness training shows how to build that base.
Trail manners are a skill too. Mountain Biking BC says bicyclists travelling downhill should yield to all users headed uphill, unless the trail is clearly signed for one-way or downhill-only traffic.
The same page says mountain bikers should yield to other non-motorized trail users, unless the trail is clearly signed for bike-only travel. It also says that in general bikers yield to hikers on shared trails, and it advises you to always wear a helmet and appropriate safety gear.
- Let others know you are coming with a friendly greeting or a bell.
- Slow down around blind corners.
- Stay on the marked trail and respect closures.
- Wear a helmet every ride.
For somewhere to put all this into practice, see our overview of Cariboo mountain biking, where trails range from mellow to demanding.
Start on the easiest option, ride with someone more experienced if you can, and treat each outing as a chance to work on one skill rather than to chase speed.
Mindset, safety and knowing your limits
Confidence grows from small wins, not from forcing yourself over features that frighten you. If a section makes your stomach drop, stop, look at it and decide calmly whether to ride it today.
Walking a feature is a smart decision, not a failure. Many experienced riders walk sections when they are tired, the trail is wet or the light is fading.
- Ride with a friend where possible, and tell someone your route.
- Carry water, a basic repair kit and a phone.
- Wear a helmet and gloves, and consider knee pads on rougher trails.
- Turn back early when you are tired, because fatigue causes crashes.
Learning to fall matters too. If a crash is unavoidable, try to stay loose, let go of the bars if needed and avoid reaching out with a stiff arm.
A simple practice plan
Progress comes from short, focused practice. A skill session of a few drills at the start of a ride beats a long, unfocused grind.
- Spend your first sessions on stance and balance, rolling over small bumps.
- Add braking drills in a straight line, then before gentle turns.
- Move on to cornering on flat, smooth turns, then berms.
- Practise climbing and descending on easy grades.
- Try small roots and rocks once the earlier skills feel automatic.
Film yourself if you can, or ask a friend to watch. Elbows that drop, heels that rise and eyes that fix on the front wheel are easy to spot on video and hard to feel in the moment.
Finally, accept that progress is uneven. A bad day, a wet trail or a new bike can set you back, and that is normal, so keep sessions short, fun and well within your comfort zone.
Frequently asked questions
What is the most important mountain bike skill to learn first?
Show answer
Body position. A balanced ready stance with level pedals, dropped heels and bent elbows underpins braking, cornering, climbing and descending.
Should I lean back when braking?
Show answer
Not far back. Throwing your weight back can unload the front wheel and cost grip off-road, so stay balanced, brake early and brake smoothly.
Who has right of way on a shared trail?
Show answer
Mountain Biking BC says downhill riders should yield to uphill users, and that bikers generally yield to hikers on shared trails. Follow any local signage, which can differ.
How often should I practise?
Show answer
Short, regular sessions work best. A few focused drills at the start of each ride will build more skill than one long, tiring session.