Standing in a shop aisle, wondering what mountain bike gear you really need? Start with a certified helmet, a bike that fits, a basic repair kit and bear awareness. Add other items to suit your route and conditions.
| Item | Key fact |
|---|---|
| Bear spray maximum package size (Canada) | 500 ml |
| Bear spray label requirement | Must clearly show it is intended for use on animals |
| Helmet certifications sold in Canada | CSA, CPSC, Snell or ASTM |
| Helmet after a hard fall | Single-impact: replace it |
| Children’s helmet age limit | Replace when older than 5 years |
These figures come from Parks Canada’s bear spray page and the Canadian Paediatric Society’s helmet handout. Rules and advice can change, so check the source before you rely on them.
The short list: what you need before your first ride
Mountain biking looks gear-heavy from the outside, and the marketing does not help. In practice, a beginner needs a short list of things that protect the body, keep the bike moving and get you home. Everything beyond that is an upgrade you can add as your riding grows.
Here is the core list, in order of importance:
- A properly fitted, certified helmet. It is the one item you should never skip.
- A bike that suits the trails you ride, set up for your height and weight.
- Gloves and eye protection so you can grip, see and keep dirt and branches out of your eyes.
- Sturdy shoes that grip your pedals and protect your feet.
- Water, a snack and a basic repair kit for the unexpected.
- A way to call for help, such as a phone, and someone who knows your plan.
If you ride in the Cariboo, add one more: a plan for wildlife. Bears share many of the trails here, and a little preparation goes a long way. We cover that further down.
Each item below has its own deeper guide on this site. This page is the map; the guides are the detail. If you want the bigger picture of where gear fits in a safe ride, read our overview of trail safety.
Start with the bike: the biggest piece of mountain bike gear
Your bike is the largest purchase and the one that shapes everything else. A bike that is too big, too small or wrong for the terrain makes riding harder and less safe. Our guide on how to choose a mountain bike walks through the decision in detail.
A few principles hold up whatever your budget:
- Fit matters more than features. A correctly sized frame lets you reach the bars and brakes comfortably and keeps you in control on descents.
- Match the bike to your trails. Smooth, flowing singletrack asks less of a bike than rocky, steep or rooty terrain.
- Reliable brakes beat fancy components. Disc brakes that work well in wet and dry conditions are worth prioritising.
- Buy from a shop that will help with setup. A mechanic can adjust the seat, cockpit and suspension for you.
- Try before you buy. Many shops and rental fleets let you test a few models.
Do not feel pressure to buy new. A well-maintained used bike is a sensible way to learn what you like. Have a mechanic check the brakes, drivetrain and suspension before you pay.
If you are not sure whether to commit, renting for a few rides tells you a lot. You find out whether you prefer a hardtail or a full-suspension bike, and how aggressive you want your riding to be.
How to choose a helmet that actually protects you
A helmet is the most important piece of protective gear you will buy. It only works if it is certified, fits snugly and is in good condition. Our full guide on how to choose a mountain bike helmet covers styles and features.
On certification, the Canadian Paediatric Society says helmets sold in Canada are certified by CSA, CPSC, Snell or ASTM. Look for a sticker inside the helmet that names one of these standards. A helmet without any certification mark is not worth the risk, however good it looks.
Mountain bike helmets differ from road helmets in useful ways. They usually sit lower at the back of the head and often include a visor. Many cover more of the temples. Those details suit the way riders fall on trails.
Fit checks you can do at home
- The helmet should sit level on your head, not tilted back, with the front edge just above your eyebrows.
- The side straps should form a V around each ear, and the buckle should sit under your chin.
- You should be able to fit only a finger or two between your chin and the strap when it is done up.
- Shake your head. A good helmet stays put without pinching.
The Canadian Paediatric Society also notes that a bike helmet is a single-impact helmet, which means that once it has been in a hard fall, it must be replaced. Even if it looks fine, the foam inside may be compressed. Treat a helmet that has taken a real hit as finished.
Age matters too. For children, the same handout advises replacing a helmet when it is older than 5 years because the plastic becomes brittle. It is a sensible habit for adults to check their helmets for cracks and worn straps at the start of every season.
What to wear mountain biking
Clothing for mountain biking is about comfort, protection and weather. You do not need brand-name kit. You do need layers that work when conditions change, which they often do in the Cariboo.
Our guide on what to wear mountain biking goes deeper. Here are the essentials:
- Gloves. They improve grip, cushion your hands and protect your palms in a fall.
- Eye protection. Clear or light-tinted glasses guard against dust, insects and branches.
- Baggy or fitted shorts, or trail pants. Choose something that does not catch on the saddle.
- A moisture-wicking top. Cotton holds sweat and gets cold fast.
- A light, packable jacket. A wind or rain shell weighs little and can make a cold, wet descent far more comfortable.
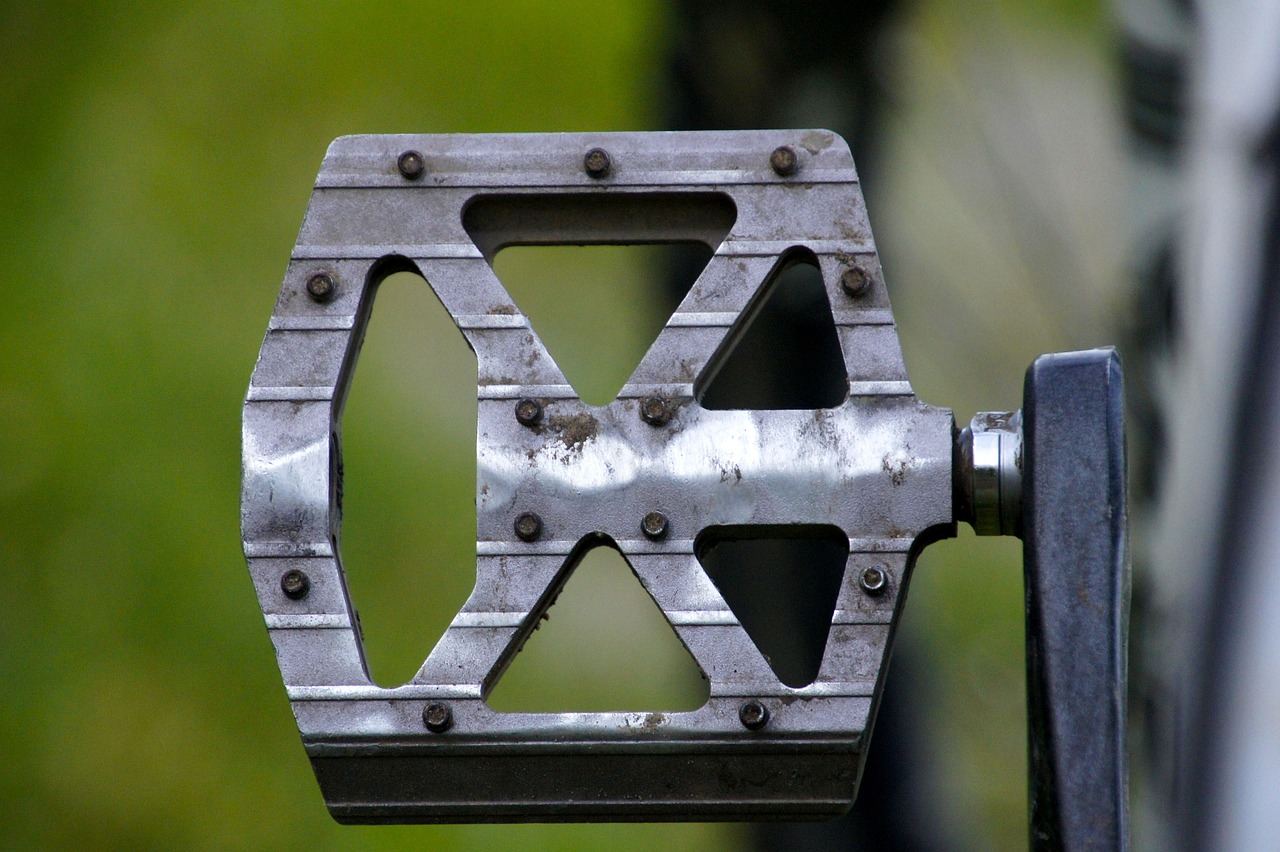
- Shoes with a stiff, grippy sole. Flat-pedal shoes and clipless shoes both work; pick what suits your pedals.
Knee pads are worth considering as you progress, especially on steeper or more technical trails. Many riders start without them on mellow terrain and add them later. Pads that are comfortable enough to pedal in will actually get worn, which is the point.
Dress for the descent as well as the climb. You warm up quickly pedalling uphill, then cool down fast when you stop or roll downhill. Carrying a spare layer solves that.
Tires, pressure and the small adjustments that change your ride
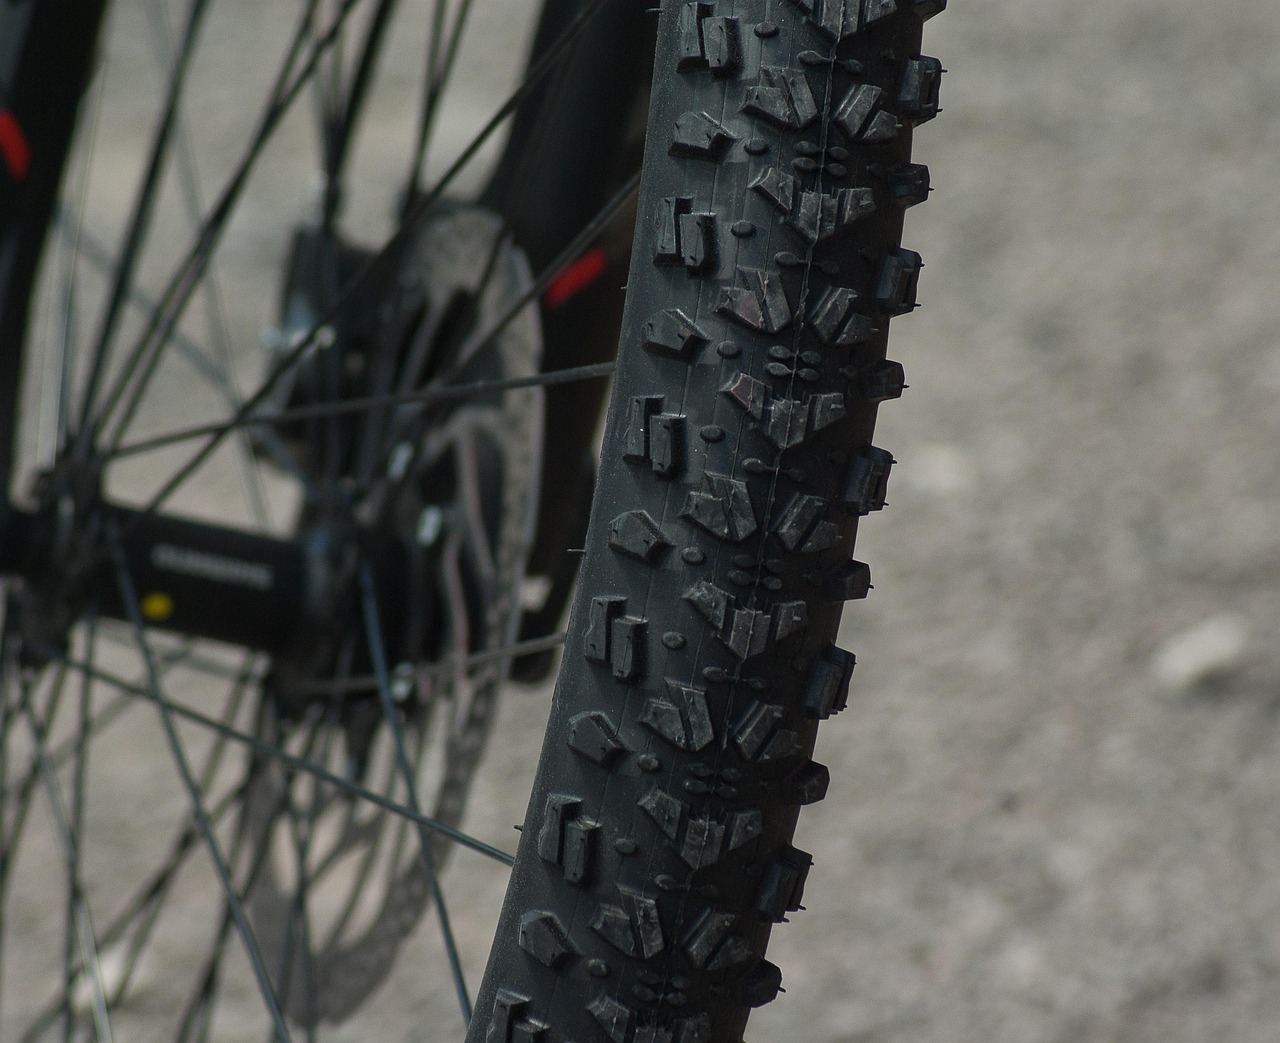
Tire pressure is one of the cheapest ways to change how a bike feels. Too hard, and the bike skips and bounces; too soft, and you risk pinch flats or a squirmy feel in corners. The right number depends on your weight, tire width, tire setup and terrain.
Our guide on mountain bike tire pressure explains how to find a starting point and adjust from there. A reliable floor pump with a decent gauge is a small investment that pays off every ride. Mountain bike tires run at far lower pressures than road tires, so a gauge that reads accurately at low pressures is valuable.
A few habits help:
- Check pressure before every ride, since tires lose air slowly.
- Change pressure when conditions change, such as loose dry dirt versus wet roots.
- Write down what works so you can return to it.
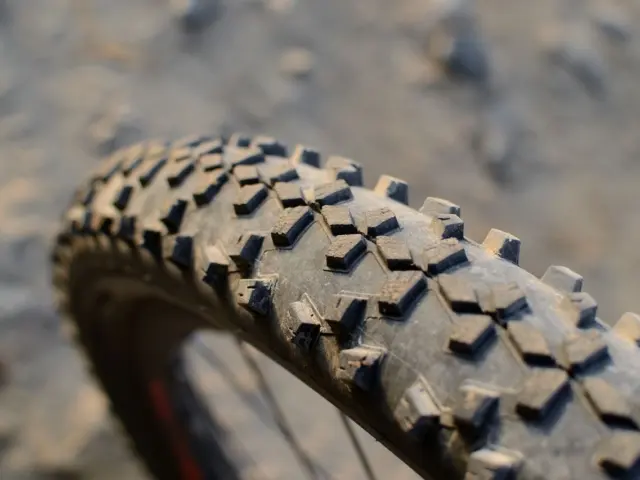
- Look over the tread and sidewalls for cuts and wear.
The repair kit and first aid kit you carry
Trails in the Cariboo can take you a long way from a road. A flat tire or broken chain is an inconvenience in town and a long walk out on a remote trail. A small kit prevents most of those walks.
Our guide on mountain bike repair kit essentials goes through the details. The usual contents are:
- A spare tube or tubeless plug kit, matched to your tire setup.
- A pump or CO2 inflator that works with your valves.
- Tire levers.
- A multi-tool with the hex and Torx sizes your bike uses.
- A quick-link for your chain size, and a little chain lube.
- Zip ties and a small strip of tape for improvised fixes.
Practise using the kit at home. Changing a tube in your garage is far easier than doing it in the rain with cold hands. Knowing your tools turns a ruined ride into a short stop. Run through a flat repair once on the kitchen floor, and again with your gloves on. Check the kit each season for dried-out lube, rusty bolts and tubes that have worn through in the folds.
A first aid kit deserves the same attention. Scrapes, cuts and sprains are the usual injuries, and a small kit lets you deal with them or stabilise a bigger problem until help arrives. Our guide on the mountain bike first aid kit covers what to pack and why.
Keep both kits in a small hip pack, a frame bag or a jersey pocket pouch. Choose a place you can reach quickly, and tell the people you ride with where it is.
Bear spray and wildlife gear for Cariboo trails
Bears live throughout central British Columbia, and riders move quickly and quietly, which makes surprise encounters possible. Making noise, riding with others and staying alert are your first defences. Our guide on bear safety mountain biking covers behaviour in detail.
Bear spray is a last-resort tool. Parks Canada says that using it is always a last resort and that you should do all you can to avoid a bear encounter in the first place. As of the page’s 2024-06-28 update, the guidance is written for the mountain national parks, but its basics apply to riders elsewhere.
Key points from that page:
- To be legal in Canada, the label must clearly show that it is intended for use on animals, and the package volume cannot exceed 500 ml.
- If you are biking, Parks Canada says to place it in the bike’s water bottle rack.
- The bear has to be in close range, less than a bus length, for the spray to be effective.
- Have it ready, but try to calmly and slowly get out of the bear’s way first.
Carrying spray in a backpack where you cannot reach it defeats the purpose. Whatever you choose, practise drawing it. Learn how the safety clip works before you need it, and check the expiry date.
Spray is not the only wildlife consideration. Some riders add a small bell or use their voice on blind corners. Others ride in groups, which tends to be louder and more visible to wildlife. None of these replaces awareness, so look ahead and watch for fresh sign.
Gear for riding in the Cariboo specifically
The Cariboo offers a lot of variety. Mountain Biking BC says Williams Lake is home to a sprawling network of more than 200 km of trails, and describes the wider region as having three major riding hubs: Williams Lake, Quesnel and the South Chilcotin. Its page adds that Williams Lake and Quesnel both have dedicated beginner flow trails alongside advanced terrain. The source is Mountain Biking BC’s Cariboo Chilcotin Coast page.
That range shapes your kit. A short evening loop near town needs little more than the basics. A long day on remote terrain calls for extra food, water, layers and a more complete repair setup.
Think about these local factors:
- Distance from help. The further you go, the more self-sufficient you need to be.
- Changeable weather. Pack a layer even on a bright morning.
- Dry, dusty conditions. Eye protection and a bottle with plenty of water help.
- Limited phone coverage in places. Tell someone your route and your expected return.
To plan routes and get a feel for the region, see our overview of Cariboo mountain biking. Gear works best when it matches the ride you have chosen.
Spend wisely: what to buy now and what can wait
Gear is easy to overbuy. A sensible approach is to spend on safety and fit first, and on performance later. Skills improve your riding more than any component, so consider where your money does the most good. Our guide to mountain bike skills shows how technique carries you further than upgrades.
Buy first
- A certified helmet that fits.
- A bike that is the right size and in good mechanical shape.
- Gloves, glasses and suitable shoes.
- A basic repair kit, pump and first aid kit.
- Bear spray if you ride where bears live.
Add later
- Knee pads and other protective gear as the terrain gets harder.
- A hydration pack or larger bag for longer rides.
- Clipless pedals, if you want them.
- Suspension upgrades and lighter components.
- A GPS computer or navigation device.
A simple way to decide is to ask what problem a purchase solves. If the answer is “it keeps me safe” or “it keeps me riding”, buy it. If the answer is “it looks fast”, wait a season and see whether you still want it once you know your own habits.
Shopping used can stretch a budget, with one exception: helmets. You cannot know whether a second-hand helmet has taken a hard hit, so buy that one new. Pads, packs, tools and even bikes are fair game when they are inspected carefully.
Local shops and riding clubs are also good sources of advice, and many riders are happy to explain what has worked on nearby trails. Treat their tips as a starting point, and test anything you buy against your own comfort and the terrain you ride.
Before every ride, run a quick check: tires, brakes, quick releases or axles, and the chain. It takes a minute and catches most problems. Looking after your equipment also makes it last longer, which saves more money than any sale.
Frequently asked questions
Do I need all of this to start mountain biking?
Show answer
No. A fitted, certified helmet, a suitable bike, gloves, water and a basic repair kit cover most beginner rides. Add the rest as your riding becomes longer or more demanding.
What certification should a helmet have?
Show answer
Look for a sticker inside the shell naming CSA, CPSC, Snell or ASTM. Those are the standards the Canadian Paediatric Society lists for helmets sold here.
When should I replace my helmet?
Show answer
Replace it after a hard fall, because a bike helmet is single-impact. For children, the Canadian Paediatric Society also advises replacing one older than 5 years.
Is bear spray legal to carry on bikes in Canada?
Show answer
Parks Canada says that to be legal in Canada, the label must show the spray is intended for use on animals and the package cannot exceed 500 ml. Check current local rules for the area where you ride.
Where should I carry bear spray while riding?
Show answer
Parks Canada suggests placing it in the bike’s water bottle rack, where you can reach it quickly. Practise drawing it before you head out.