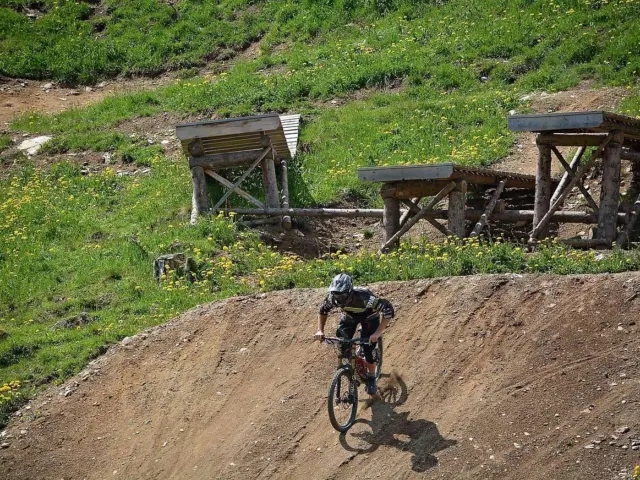
Nervous about steep trails? Here is how to brake on a mountain bike: use one finger per lever, favour the front brake smoothly, slow down before corners, and keep your hips back.
| Item | Value |
|---|---|
| Front brake share of stopping power | 70% |
| Rear brake share of stopping power | 30% |
| Best place to slow down for a corner | Before the corner, not in it |
| Body position when braking sharply | Crotch level with the back edge of the saddle |
| Effect of skidding on the trail | Accelerates trail erosion |
The front and rear shares come from woom’s braking guide, and the other items come from Singletracks. These figures are rules of thumb that can change with terrain and bike setup, so check the sources before you rely on them.
Braking is the first of the mountain bike skills worth learning, because every other skill gets easier once you trust your brakes. This guide covers what each lever does, how to hold your body, and how to practise safely.
How to brake on a mountain bike: what each lever does
Your bike has two levers, and they do different jobs. The front brake is the stronger one. In woom’s words, “The front wheel brake gives 70% of the total braking power and the rear wheel brake has 30%.”
The reason is weight transfer. When you slow down, your body and the bike’s load shift forward, so the front tyre presses harder into the ground and grips better. The rear wheel gets lighter, so it locks and slips earlier.
That is why using only the rear brake is a poor habit. Singletracks notes that riders who rely on the rear brake alone usually end up skidding anyway.
- Front brake: most of your stopping power, best used smoothly and in a straight line.
- Rear brake: useful for small speed trims and for steadying the bike on loose ground.
- Both together: the normal way to slow down on most trails.
How to set up your levers and fingers
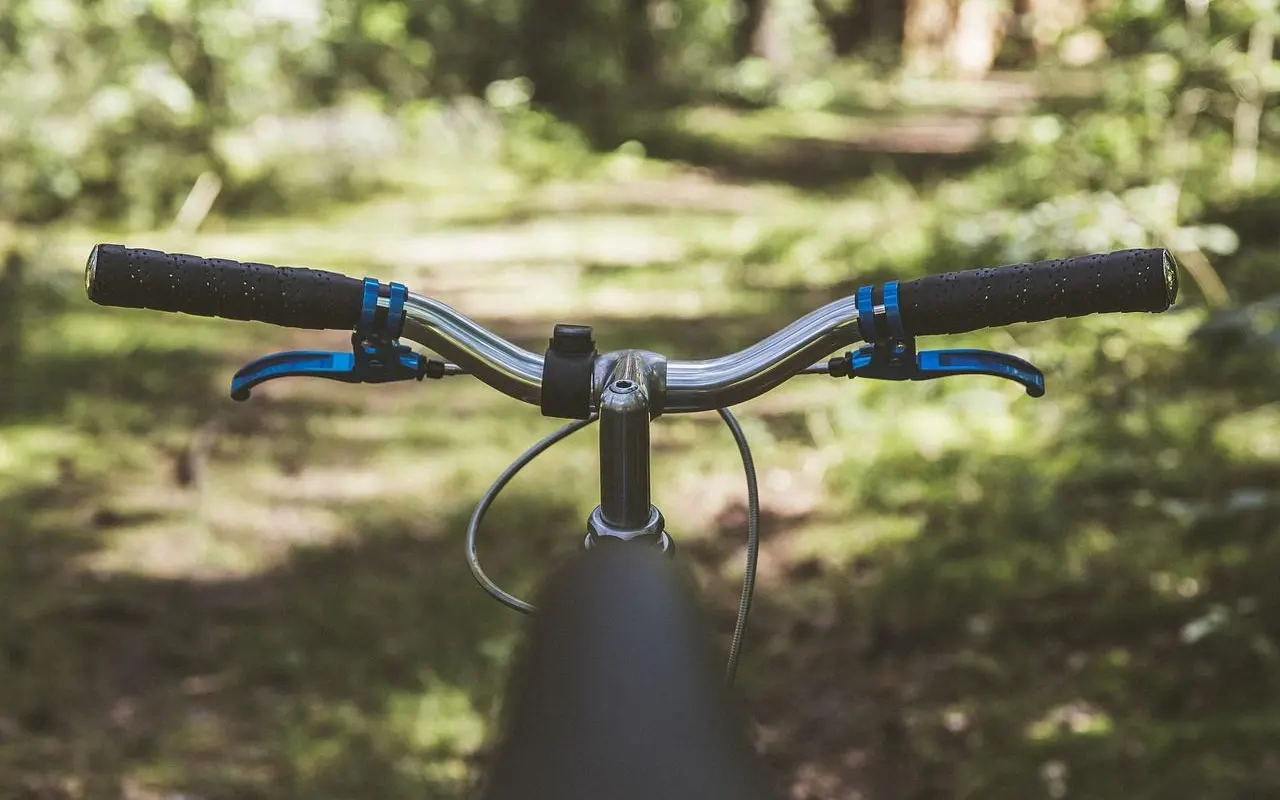
Good braking starts before you ride. Singletracks says it is very important to have your brake levers in the right position, so you can reach them without twisting your wrist.
Most riders use the index finger on each lever and keep the rest of their hand wrapped around the grip. Singletracks reports that it is “much more comfortable and natural” to brake with the index finger, and that most of that author’s riding partners do the same. If another finger feels better for you, use it.
Modern hydraulic disc brakes need little force. Flow Mountain Bike’s beginner guide describes learning to modulate, which means “feeling how hard to pull and when to ease off slightly and then re-apply them.”
- Rotate the levers so your fingers rest on them with a straight wrist.
- Hold the grip firmly with your other fingers and thumb.
- Pull with a gentle squeeze, not a sudden grab.
- Ease off, then squeeze again if you need more speed control.
Body position: stay back and stay low
Braking pushes your weight forward, and you counter it with your body. Woom advises positioning your hips further back over the saddle. When braking sharply, move your hips “as low as possible behind the saddle.”
Think of it as pushing the bike forward under you while your weight moves back. Woom’s rule of thumb is to aim to have your crotch level with the back edge of the saddle.
Flow Mountain Bike gives a matching warning. Pulling the front brake hard on its own is, in its words, “the fastest way to get sent over the bars.” If you do use the front brake firmly, shift your weight back and lower your body slightly.
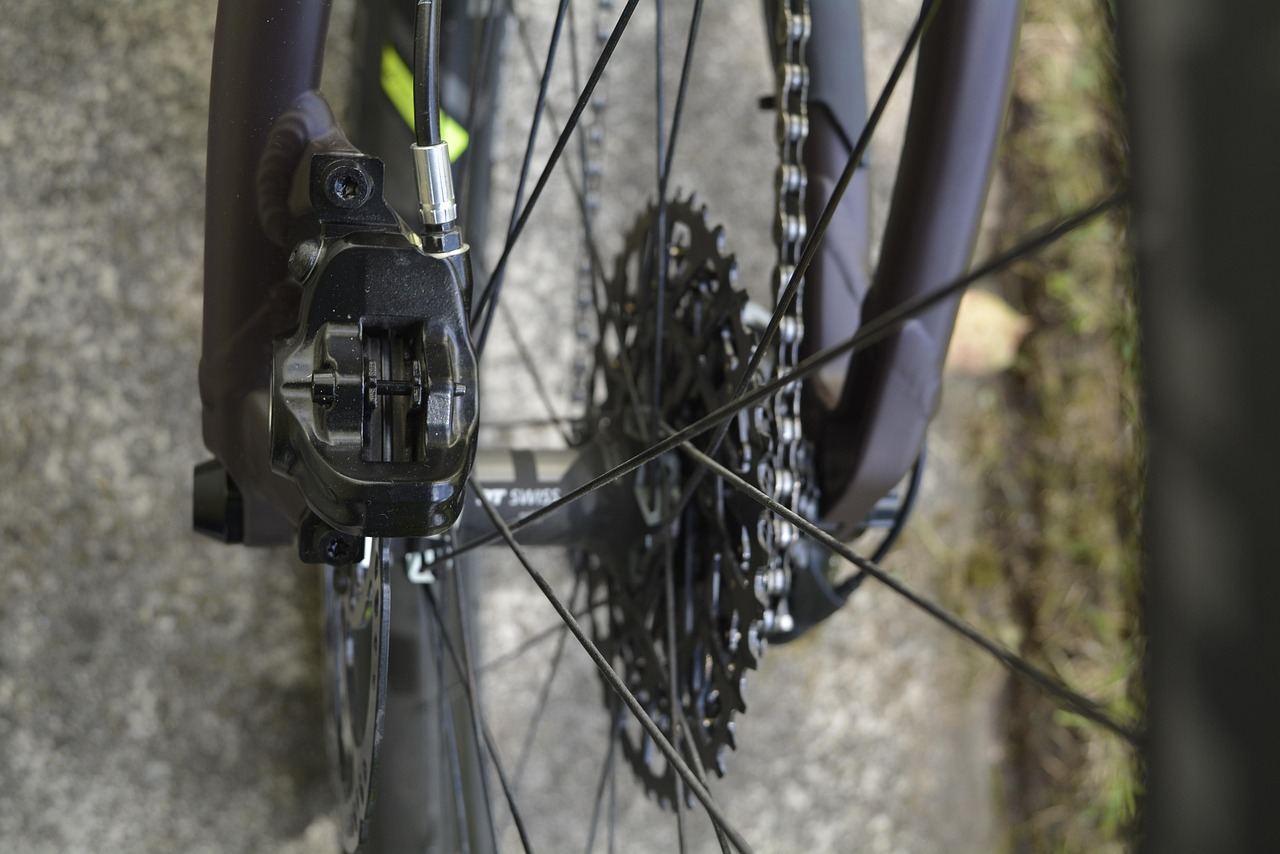
Brake before the corner, not in it
Corners are where many riders get into trouble. Singletracks advises that you “strive to brake before the corners and not while you are actually in them.”
The main reason is that braking in corners reduces bike control, especially if the wheels wash out. Finish your slowing on the straight, then roll through the turn with your eyes ahead. Our guide on how to corner on a mountain bike shows what to do once you are in the turn.
Flow Mountain Bike adds a small exception: a little front brake can help you tuck the front end into a tight corner. Treat that as an advanced trick and learn the basics first.
A useful mental cue is to brake early and gently, then release the levers as you turn in. Early braking gives you time to choose a line, and a smooth release keeps the tyres gripping instead of sliding. Riders who brake late tend to grab the levers, which is exactly when mistakes happen.
Braking on climbs and flat ground
You still brake on the way up, for example when a switchback or a rooty step forces you to check your speed. Keep your finger covering the lever so you can react. If you are working on your fitness and technique together, our guide on how to climb hills on a mountain bike covers pacing and body position.
Skidding and common mistakes
Many new riders think a skid is the fastest way to stop. Singletracks says the opposite: “skidding is about the worst thing you can do.”
Skidding hurts for several reasons, according to Singletracks.
- You do not stop as fast as you could.
- You have less control over the bike.
- It accelerates trail erosion, which damages the trails you ride.
Other habits worth fixing are grabbing a handful of brake in a panic, braking for long stretches instead of in short controlled bursts, and staring at the obstacle you want to avoid. Try squeezing and releasing instead of dragging the brakes.
A simple drill to build confidence
Braking is a feel skill, and feel only comes from repetition. A few minutes of focused practice at the start of a ride teaches you more than hours of riding while worrying about the next drop. Pick a quiet spot with a clear run-out, wear your helmet and gloves, and keep every run short.
Flow Mountain Bike suggests finding a short hill with a loose surface such as gravel, or even better a section of trail. It recommends trying it first with just the back brake, then moving on to the front.
Start slowly and increase your speed only once the lever feel is familiar. The goal is to learn how much lever pull your bike needs and when to ease off.
- Roll down a gentle slope at walking pace.
- Brake with the rear lever only and feel where it begins to slide.
- Repeat with the front lever, moving your hips back as you squeeze.
- Combine both levers and stop in a straight line.
- Practise a few runs, then try the same drill slightly faster.
Frequently asked questions
Which brake should I use first?
Show answer
Use both, but give the front brake the leading role. It does most of the stopping, according to woom, as long as you squeeze smoothly and keep your weight back.
Is one finger enough to brake?
Show answer
Usually yes with modern disc brakes. Flow Mountain Bike describes light lever pressure and modulation, and keeping your other fingers on the grip helps you hold on over rough ground.
Why shouldn’t I brake in corners?
Show answer
Singletracks says braking in corners reduces control, especially if the wheels wash out. Slow down first, then roll through.
Will the front brake throw me over the bars?
Show answer
It can if you grab it hard, as Flow Mountain Bike warns. Squeeze progressively, drop your hips back, and practise on a gentle loose slope.