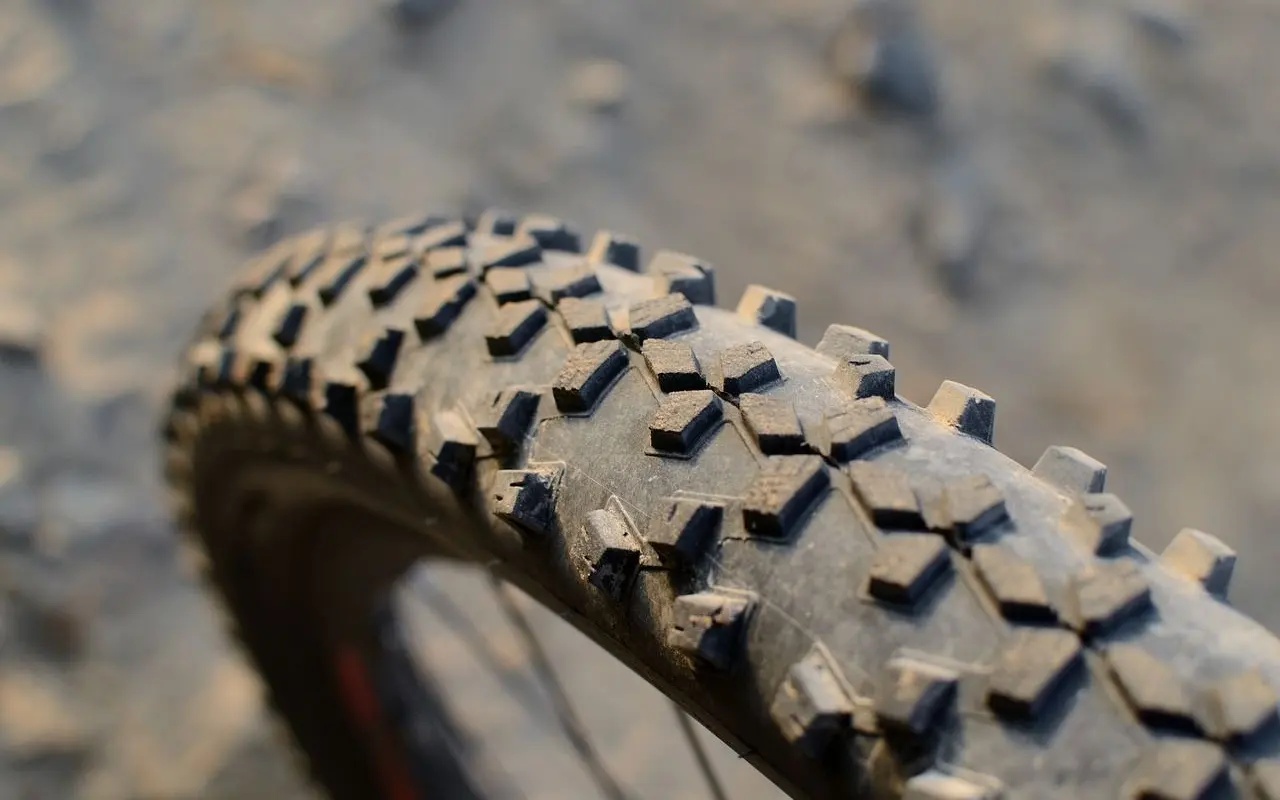
Not sure what mountain bike tire pressure to run on your next ride? Start low, around 23/24 psi front and 27/28 psi rear for tubeless, then adjust by feel.
| Item | Value |
|---|---|
| Tubeless starting point (front/rear) | 23/24 psi front, 27/28 psi rear |
| Rear versus front | Add 2-3 psi to the rear |
| Lighter rider on trails (example) | 25 psi front, 27 psi rear |
| Heavier, aggressive rider (example) | 30/32 psi front/rear |
| Typical printed sidewall range | 20-40 psi |
These figures come from Canyon’s tire pressure guide and evo’s tire pressure guide. They can change, so check the source before you rely on them.
Why tire pressure matters on the trail
Pressure decides how much your tire grips, rolls and protects the rim. Too high and the tire bounces off roots and rocks, so you lose traction and comfort.
Too low and the tire squirms in corners and can pinch flat or let the rim hit the ground. Your goal is the lowest pressure that still feels stable and protects the rim.
There is no single right number. As evo puts it, “there’s no one size fits all answer, but the general rule of thumb is to go lower than the manufacturer’s recommendation.”
A starting point for tubeless setups
Most riders on tubeless tires can begin near a baseline and tweak from there. Canyon notes that “beginning with a pressure of 23/24psi in the front and 27/28psi in the rear can be a good starting point if you’re running tubeless.”
Run a little more in the rear than the front, because the rear carries more of your weight and takes harder hits. Evo says “increasing PSI by 2-3 in the rear tire is a good amount to start with.”
Use a quality gauge made for low pressures. Floor pump gauges are often inaccurate in this range, and a few psi matters a lot on a trail tire.
How rider weight and riding style change the number
Heavier riders need more air to keep the tire from folding, and lighter riders can go lower. Canyon gives real examples from its own riders on tubeless setups.
- A lighter rider on trails runs 25 psi front and 27 psi rear.
- Another rider runs 28 psi front and 30 psi rear for general trail riding.
- Canyon says heavier and more aggressive riders may need 30/32 psi front/rear.
Use these as a spread, not a rule. Your weight with gear, the bike, and how hard you ride all move you along that range.
Cross-country riders chasing speed often run firmer tires for rolling efficiency, while enduro and downhill riders drop pressure for grip and rim protection. Evo’s chart reflects this, with different values for XC, trail, enduro and downhill.
Matching pressure to different trails
Terrain is the biggest reason to adjust on the day. Here is how to think about the common Cariboo trail types.
- Smooth, flowy singletrack: run toward the firmer end of your range for speed and a crisp feel.
- Rocky, technical climbs and descents: go a little softer for traction, but keep enough air to protect the rim.
- Loose or dusty dirt: lower pressure helps the tire conform and grip.
- Wet roots and mud: softer tires hold better, though not so soft that they burp or squirm.
- Long gravel or road connectors: a bit more air keeps rolling resistance down.
Change pressure in small steps, ideally 2-3 psi at a time, and ride the same section again to feel the difference. Write down what worked so you can repeat it.
How to dial in your pressure step by step
A simple routine beats guessing. Pick a familiar loop with a mix of corners, climbs and rough sections, and use it as your test track.
- Inflate to the tubeless baseline, with the rear a little higher than the front.
- Ride a section that includes a fast corner and a rough descent, and note how the tires feel.
- If the tire feels vague or folds in corners, add a small amount of air.
- If the bike bounces, skips sideways or feels harsh on small bumps, let a small amount out.
- Repeat until the bike feels calm, then write the numbers in your phone for next time.
Treat the front and rear separately. A front tire that washes out needs different attention than a rear tire that bottoms out on the rim.
Other things that shift your ideal pressure
Weight and terrain are the big factors, but your tire and rim setup matter too. A stiffer casing holds its shape better, so it can often run lower than a thin, flexible casing before it squirms.
Wider rims and wider tires also support more volume, which generally lets you run less air. A narrow tire on a narrow rim needs more pressure to avoid hitting the rim on impacts.
- Tire volume: bigger tires hold more air and feel more forgiving at the same pressure.
- Casing and inserts: tougher casings or foam inserts add rim protection, which can let you lower pressure carefully.
- Tire age and sealant: tubeless tires slowly lose air, so top them up and refresh sealant on a regular schedule.
- Altitude and temperature: check pressure when conditions change, because the number you set at home may drift by the trailhead.
If you keep getting rim strikes or flats even after raising pressure, the cause may be your tire choice or a damaged rim rather than the number on the gauge. A local shop can help you check the setup.
Tubes, tire limits and safety checks
If you run tubes, you need more pressure than tubeless to avoid pinch flats, so do not copy tubeless numbers. Evo’s chart lists separate tube and tubeless values for that reason.
Read your tire’s sidewall. Canyon advises “don’t go below the printed minimum pressure or above the maximum (generally 20-40psi).”
Also check the rim maker’s limits and your sealant, since sealant helps tubeless tires survive small punctures. Carry a pump and plugs or tubes in case you do get a flat, and see our list of mountain bike repair kit essentials for what to pack.
Pressure also changes with temperature, so recheck before a ride after a cold night or a hot drive. Long descents can warm the tire and raise pressure slightly.
Setting up the rest of your kit
Tire pressure is one part of a trail-ready setup. For the bigger picture, browse our guide to mountain bike gear.
Weather in the interior can swing quickly, so it also helps to read up on what to wear mountain biking before you head out.
Frequently asked questions
What is a good mountain bike tire pressure to start with?
Show answer
For tubeless, Canyon suggests 23/24 psi front and 27/28 psi rear as a starting point. Adjust from there for your weight and the trail.
Should the rear tire have more pressure than the front?
Show answer
Yes. Evo says adding 2-3 psi to the rear is a good place to start.
Can I go below the printed minimum on the tire?
Show answer
No. Canyon says not to go below the printed minimum or above the maximum on the sidewall.
Do tubes need more pressure than tubeless?
Show answer
Yes, typically. Evo’s chart gives separate, higher tube values than tubeless values for each riding style.